In QuoteWerks you can import a list of vendors and associated data from a .csv or text file using the Vendor Import Wizard. The process is simple and the import can be accomplished in just a few steps.
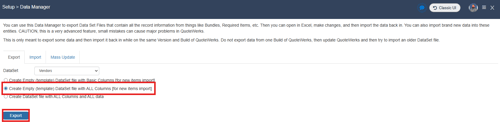
To begin, you will want to create a .csv or text file that contains your vendor data. To obtain a file with all the columns you can use to import vendor information navigate to Setup -> Data Manager. From here you can export a .csv file that contains all of the available columns by selecting Vendors as your DataSet, selecting Create Empty (template) DataSet file with ALL Columns [for new items import], and clicking Export as seen below.
A populated .csv file should contain basic information, at minimum, like the Vendor Name, Vendor Contact, and Vendor Contact Information (like address, phone, and email.)
![]()
With the .csv or text file populated with your vendor information you can progress to using the Vendor Import Wizard by following the steps below.
1. Open the Vendor Import Wizard by navigating to Setup -> Import Vendors. To begin click on Select and use file explorer to locate and open the file that contains your vendor information.
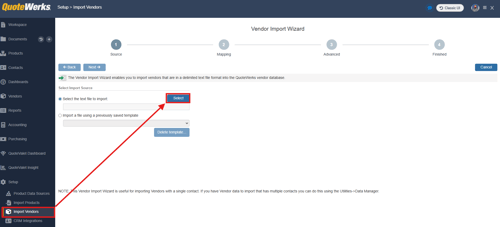
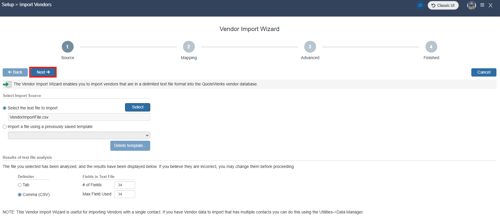
2. With your vendor file selected you can then click Next to begin the import.
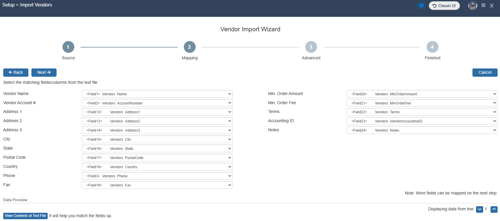
3. On step 2, Mapping, map the fields from your import file to the fields available in QuoteWerks as seen below.
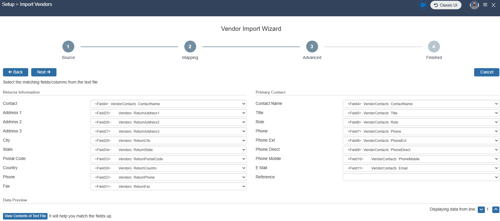
4. On step 3, Advanced, map additional fields as needed. Once the advanced fields are mapped click Next.
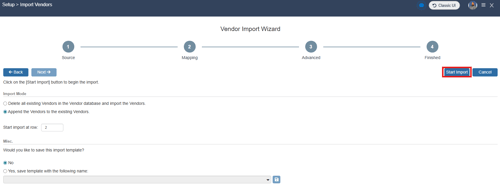
5. On step 4, Finished, select the import mode. This will typically be "Append the Vendors to the existing Vendors" so that you retain any existing vendor data that already exists in the vendor database. If this is the first import or you want to start fresh with only the data from your vendor import file select "Delete all existing Vendors in the Vendor database and import the Vendors." You will also want to input the number 2 in the start import at row to omit your column headers from the import.
If you expect to perform future imports using the same import file with the same column headers you can choose to save the import as a template to avoid having to perform mapping on future imports. If you wish to do so select "Yes, save template with the following name:" give your import template a name and click on the save icon.
Once you have made your selections click on Start Import.
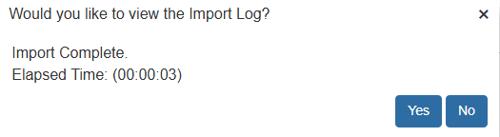
6. With the import complete you will be given the option to view the import log as seen below.
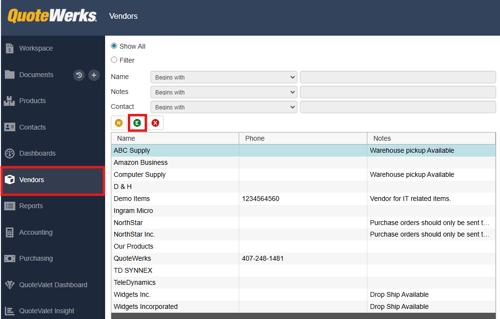
7. To confirm your import completed successfully and view your newly imported vendor information navigate to Vendors on the navigation panel. The Vendor entries you imported, and all associated data will be available for you to review there. To view the data and associated contacts that were imported select the vendor record and click the Edit ![]() button.
button.