
The QuoteWerks Zapier integration allows you to write out quote line item data to external connected apps like Google Sheets. In this article we review how to set up a Zap to create a new sheet and insert quote data upon save.
IMPORTANT: Before you can begin creating Zaps using QuoteWerks, you must first connect to the QuoteWerks App in Zapier. This can be done by following the instructions listed in the How Do I Connect Zapier to QuoteWerks? help article.
Setup
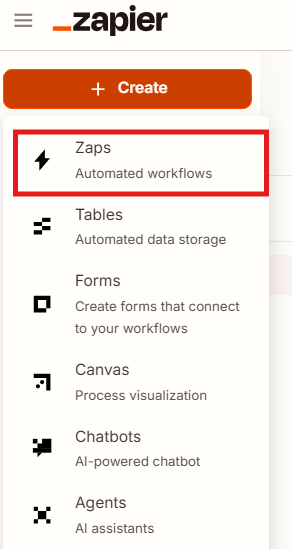
1. Log into Zapier, click on +Create and select Zaps.
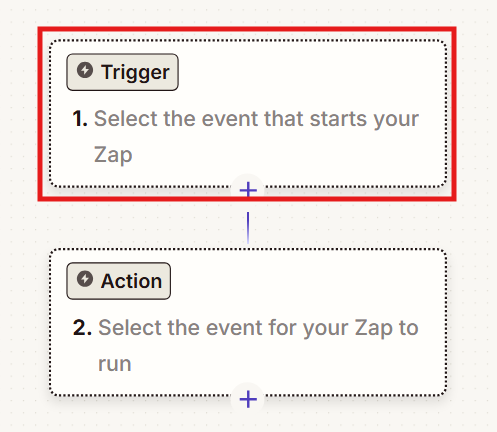
2. Click on Trigger to select your Trigger Event.
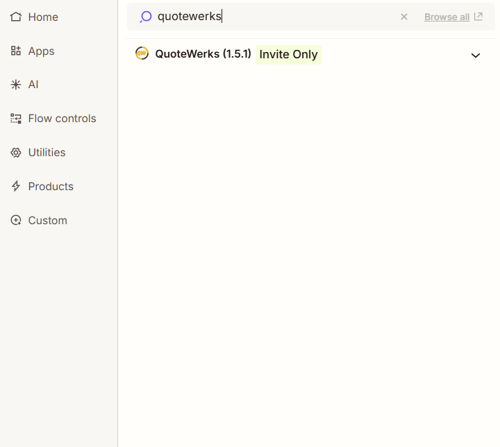
3. Search for and select "QuoteWerks."
4. Under the Trigger event heading click on Choose an event. Select "Document Saved."

5. Click on Select under the account heading and select your QuoteWerks account. Click Continue.

6. Then click Test trigger, then Continue with selected record.

7. Select Google Sheets from the list of connected apps.

8. Under the "Action event" heading click Choose an event and select "Create Spreadsheet."

9. Select your Google account and click Continue.

10. Create a Google Sheet in your Google Drive and give it a name you will recognize. Create column headers for the columns you wish to write out of QuoteWerks.

11. Under the heading Title click on the + button and select what you want the name of the spreadsheet to be. In this example we will name it the QuoteWerks Document Number or "Doc No."

12. Under "Spreadsheet to copy" click on the arrows and select the name of the spreadsheet you created in step 10.

13. Click Continue.
14. Click Test Step.

15. Click the + button to add a new step to the Zap.

16. Select "Google Sheets."

17. Under the "Action event" heading click on Choose an event and search for and select Create Multiple Spreadsheet Rows.

18. Click Continue.
19. Click the three dots next to the spreadsheet field and select Custom.

20. Select "ID."

21. Click on the three dots and Custom once again, then select In-use Data, then ID.

22. Remove the first ID field so that only the In-use Data ID remains in the Spreadsheet field.

23. Click on the three dots under the Worksheet heading and select Custom.

24. Select "Worksheet Id."

25. Click on the three dots and Custom once again, then select In-use Data, then Worksheet Id.

26. Remove the first Worksheet Id field so that only the In-use Data Worksheet Id remains in the Worksheet field.

27. Next you should map the row from your worksheet to fields from the QuoteWerks system. When you do you want to make sure to click the Get all values button (highlighted below) to ensure all lines are printed into the sheet.

28. You should map whatever fields you want to print onto the sheet that coorespond to the existing rows as seen below. In this example we mapped quantity, manufacturer part number, extended cost, extended price, and description. Once all fields are mapped click Continue.

29. Click on Test Step, then Publish.
The setup is now complete and you can move on to testing by opening a document in QuoteWerks, populating it with some products, and saving the document. When the document is saved a file with the document number will be created containing the line item data from the document in the appropriate columns as seen below.
